So lets have a look at the step-by-step guide of ripping a DVD to any of the formats supported.

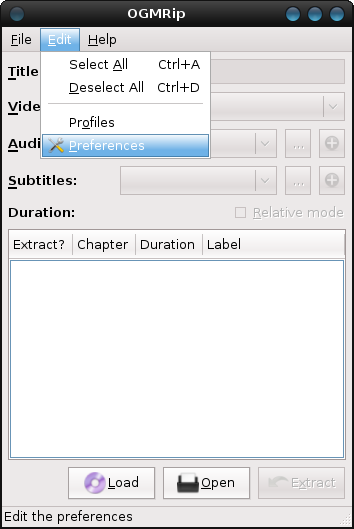 |
This is the main OGMRip window. First of all we have to select our preferred settings. Click Edit -> Preferences. |

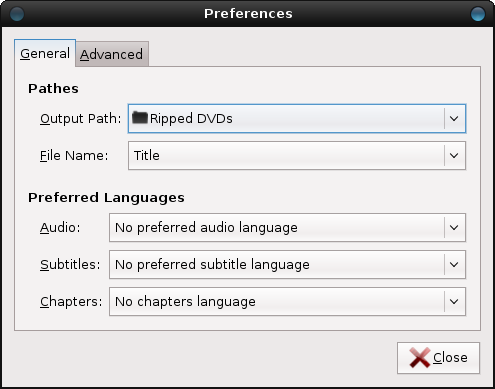 |
In the General tab select the Output Path which is the folder the resulting video file will be put too. The other settings are not really necessary, so just click the Advanced tab. |
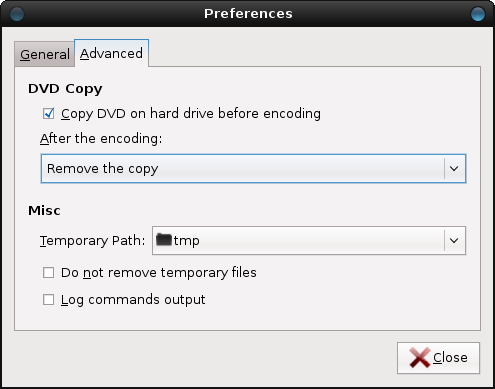 |
Here make sure you check Copy DVD on hard drive before encoding (it is not enabled by default) as this setting will speed up the encoding and reduce the stress on your DVD drive. You can also choose what to do with the temporary files after the encoding is complete, here I've set it to auto remove them. Also make sure that you have enough free space (at least 10GB) at /tmp, which is the default temporary path, otherwise select a place in your hard disk that you have enough free space. |

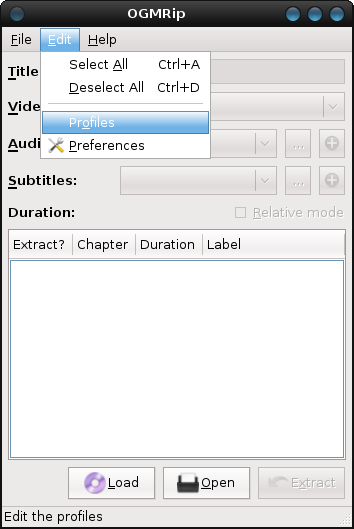 |
Next we have to select the video and audio settings. OGMRip is conveniently offering the ability to keep multiple profiles, so that you can change between two different output formats with one click. To bring up the profiles window go to Edit -> Profiles. |
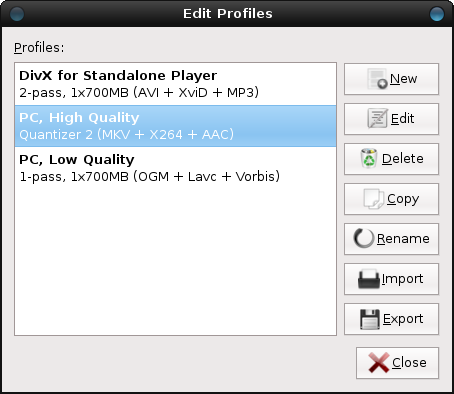 |
There are some default profiles here that do their task quite well, but of course we are going to create a new one in order to guide you through the available options. In the profile window click New. |
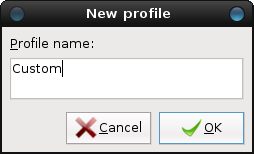 |
Set a name for the new profile (here I've just set "Custom" as the name but you may want to use something more descriptive) and click OK. |

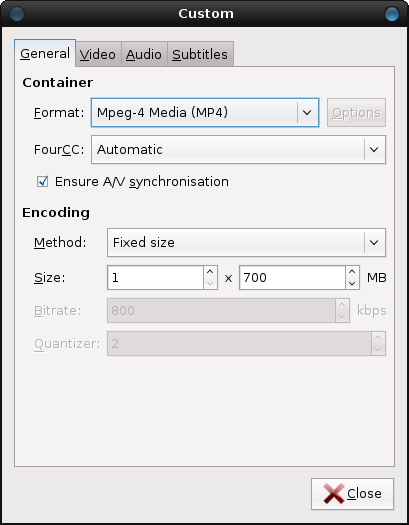 |
First comes the General tab. Here you can set the container format. Feel free to choose whatever suits you the best, we are going to use H264 in this guide so we selected MP4 (MKV would also be fine). In case you want to use XviD to play on a standalone player I suggest you use AVI, and if you encode your videos with the OGG video codec, OGM is a good choice. Leave FourCC to Automatic and check Ensure A/V synchronization. The Encoding settings control the size and quality of the resulting files. The best choice is to set a Fixed size, like we did in this example as we ask to get one file that would be 700MB in size. Of course you may want to keep all your movies in about the same quality so feel free to use constant bitrate or quantizer. {mostip image=info}For the latest keep in mind that in a very generic explanation the lower the Quantizer number is the better the quality will be, just make sure you don't set it to 1 or the resulting file will be way too huge.{/mostip} |

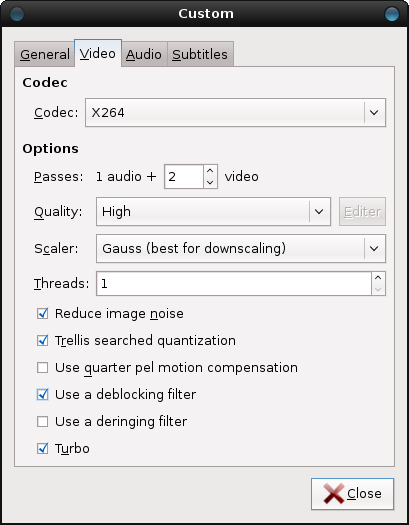 |
Right next, the Video tab. Here the obvious choices are two: X264 and XviD. We are using the first one in the guide as it delivers superior video quality in the same size. In case you want to playback your videos in standalone players or computers with low processing power, XviD is your best choice. For the quality settings, make sure you select 2 passes, as it takes a lot of extra time but the quality improvement really deserves it. Set the quality to High and leave the Scaler as it is. You may want to increase the number of Threads if you have a multicore processor, for example in my main PC which has a quad core CPU I put this to 4. Leave the rest of the options as you see them here and move on to Audio. |

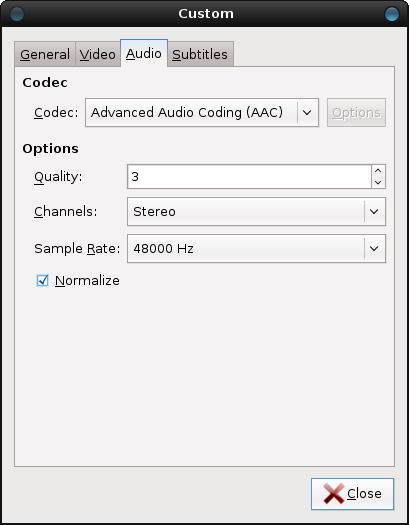 |
In the Audio tab you once again have to make a choice on the audio codec you will be using. In this example we will use AAC, but for max compatibility MP3 is the best choice. You can also copy the audio of the DVD as-is, if you want to keep the original AC3 surround sound stream or use Ogg Vorbis. Using uncompressed WAV is not recommended. Generally for an MP4 file like the one we are creating here, AAC is the optimal choice. If you use XviD you should better go with Mp3. For both codecs keeping the original AC3 is the best way to maintain 5.1 surround (make sure you change the channels option as well). Time to move on to the last tab, Subtitles. |

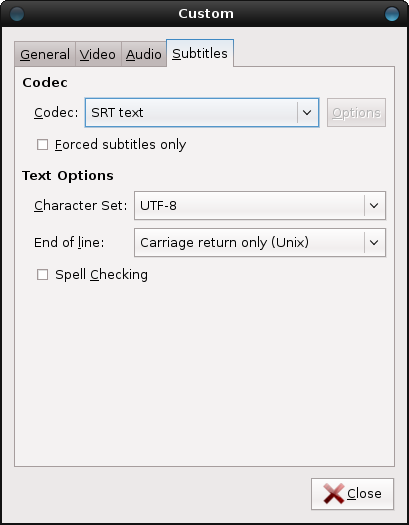 |
Here you can select between SRT subtitles (simple text) and VobSub (images of the DVD subs themselves. SRT works pretty well so there is no real reason not to use it. Character Set and End of line should left in their default values unless you experience trouble with standalone players. |

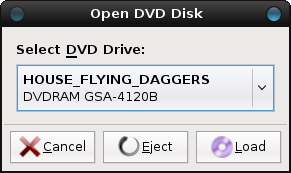 |
After you close the Profiles window you are back to the main OGMRip window. There you should click Load and after selecting the DVD Drive that contains your movie, Load again. |
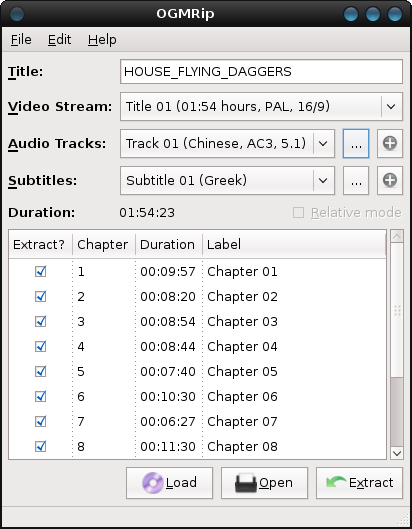 |
When the DVD is loaded you should see something like this. Lets explain what every setting does. The Title is the label of the DVD and the filename of the output file. In Video Stream you select which stream of the DVD you will encode (the biggest one is obviously the movie). Next you select the Audio Tracks and the Subtitles. Note that next to these two options you can find a small "+" button. You can use that to add multiple audio or subtitle streams if your container supports it. Finally you can choose which chapters to extract or not by selecting the box in front of them. The "Relative Mode" option will become available if you select only a few chapters and can be used to encode only a few chapters in the same quality that the whole movie would be, in order to preview the file before you encoding the whole thing. When you are happy with what you've selected, click Extract. |

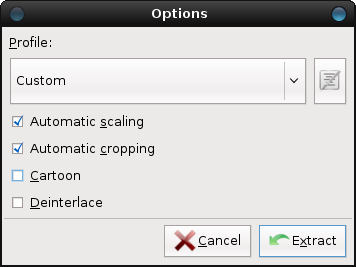 |
When you click Extract a final window comes up that lets you choose the Profile you want to use (that would be Custom, the one we created before). Automatic scaling and cropping worked very well in all of my tests but if you wish you can just uncheck them and set these options manually. If you're encoding a cartoon/anime, select the third option. Deinterlace is generally not needed and can be applied during playback if necessary. When you're ready, click Extract again. |
 |
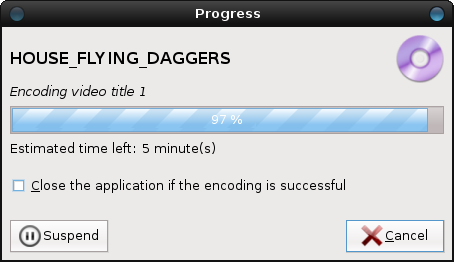 |
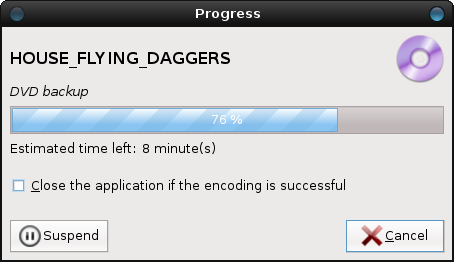
That's it! OGMRip will first rip the DVD and then encode your video. I hope you find this guide useful and enjoy this great little program. Just as always if you have any question or problem don't use the comment area below, but come to our Linux forums. |
Comments
This is totaly untrue, it's very unlikely that correct interlacing will subsist through reencoding. It will in most conditions produce threaded images during movement impossible to deinterlace.
I'm actually searching something in linux to rip dvds using yadif which is the best free deinterlacer in the place. Saddly even though it's an mplayer technology, it doesn't really spread...
I hope it can help me with my work lately...
It's so easy to get in quickly when explained so well.
god bless you.
You saved me a lots of research... now I will go and try it on Linux!
Bless y'a!